文字の表示形式を変更する
以前の記事では「はじめてのAndroidアプリケーション」の表示文字を変えました。
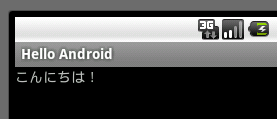
ここでは文字の表示スタイルを変更してみましょう。
res/layout/main.xml を次のように書き換えます。詳細はまた別のページで説明します。
<?xml version="1.0" encoding="utf-8"?>
<LinearLayout xmlns:android="http://schemas.android.com/apk/res/android"
    android:orientation="horizontal"
    android:layout_width="fill_parent"
    android:layout_height="fill_parent"
    >
    <LinearLayout
      android:orientation="vertical"
      android:layout_width="fill_parent"
      android:layout_height="fill_parent"
      android:layout_gravity="center"
      >
      <TextView
        android:layout_width="wrap_content"
        android:layout_height="wrap_content"
        android:layout_gravity="center"
        android:textColor="#ff0000"
        android:textSize="28sp"
        android:text="@string/hello"
      />
    </LinearLayout>
</LinearLayout>
この変更を保存した後、エミュレータ上で実行してみます。すると、次のように表示されるはずです。
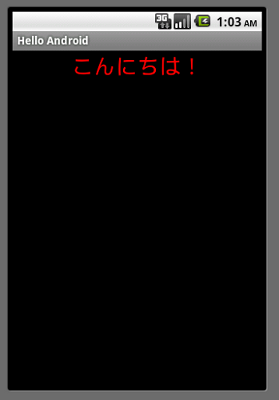
ここでは全体のレイアウトはリニアレイアウトを利用しています。 文字のスタイルの変更は TextView の属性を変更することによって行っています。表示場所については、 レイアウトの変更です。